


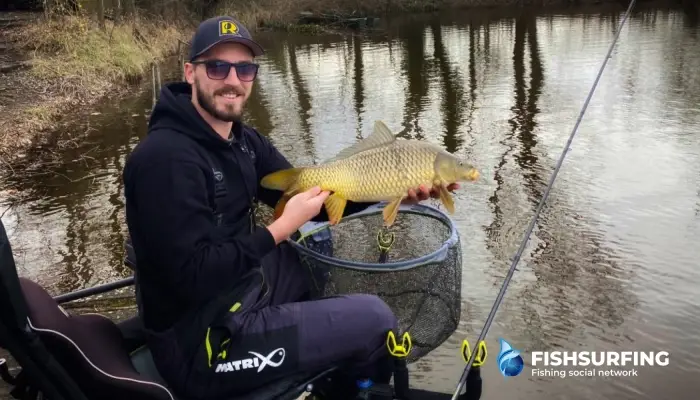
Pack the groundbait, hide the bait, and cast. At first glance, the method feeder seems very simple. However, to ensure this technique doesn’t result in empty casts, you must perfectly coordinate the spot, the groundbait, and the rig. In this article, we’ll break down the method feeder down to the last detail. You’ll learn how to choose the right gear, how to mix the best groundbait, and how to avoid mistakes that could cost you a catch.
What Is a Method Feeder
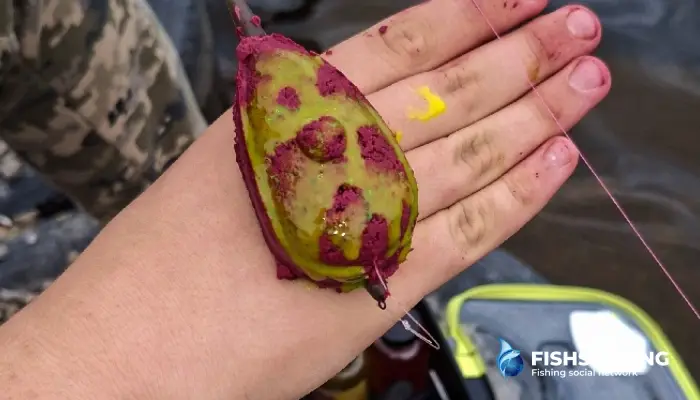
Method feeder is a specific discipline of feeder fishing based on a flat method feeder. A groundbait mix or moistened micro-pellets are packed into it, and the bait is pressed directly into the groundbait or placed right next to it. As soon as a fish approaches this small feeding spot and begins to gather food, it very easily—and often completely unsuspectingly—sucks in the bait itself.
Feeder vs. method feeder: what’s the difference?
The key difference from a classic feeder lies in the method of presentation. While in a standard setup the feeder primarily serves to deliver the mix to the bottom and the bait works on a longer leader in a wider area, the method feeder concentrates everything into a single compact spot. The groundbait, scent trail, attractive particles, and the bait itself are all clustered closely together, creating a tempting bite within just a few square centimeters.
Main Advantages of the Method Feeder
It is precisely thanks to this precise presentation that the method feeder often yields very quick results. The fish doesn’t waste time gathering individual bites scattered across the bottom. It swims straight to the feeder, begins to feast, and your bait lies right at the epicenter of its interest. This is another reason why this technique is extremely popular for shorter fishing trips and targeted fishing for carp, crucian carp, large bream, or tench in still waters.
When to Choose a Method Feeder
The method feeder isn’t a one-size-fits-all solution for every situation, but under the right conditions, it’s unbeatable. It excels wherever the bottom allows for a stable presentation and where you want to create a highly concentrated feeding spot.
In still and calmer waters
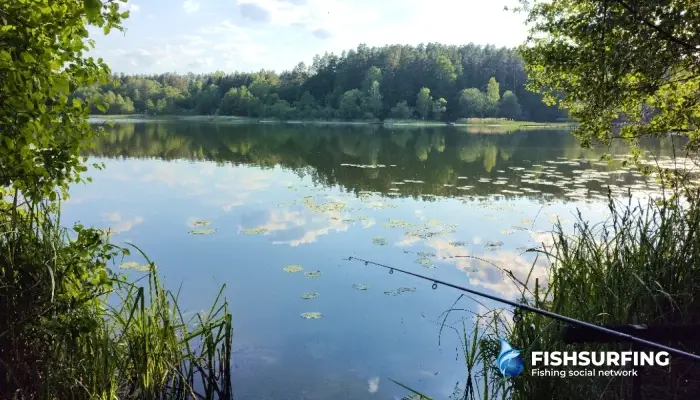
Its domain includes ponds, sand pits, or quiet coves. In a stronger current, the feed from a flat feeder would be washed away too quickly, but in calm water, the bait remains lying exactly in the center of an attractive pile of food.
When targeting larger fish
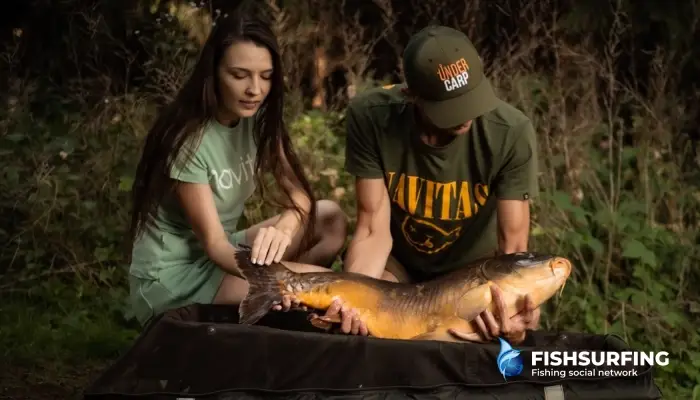
Thanks to a short leader and selective baits such as wafters, pellets, or mini boilies, the method feeder is most commonly associated with carp fishing. However, it also works excellently for other larger fish—big bream, tench, crucian carp, or smaller grass carp.
During short fishing trips
Do you only have a few hours to fish after work? With the method feeder, there’s no need for the tedious process of setting up an extensive feeding spot. With every cast, you deliver a precisely measured dose of bait into the water, which immediately begins to work around the hook.
When precision is key
This technique demands—and rewards—precision. If you can consistently cast to the same spot using the clip method, you won’t disrupt the fishing spot. You’ll draw the fish into a small area and gain maximum control over what’s happening beneath the surface.
When the method feeder isn’t suitable
- In strong currents – Fast-flowing water easily washes the feed away from the flat feeder and can push the bait out of the fishing spot. Fishing in a river is possible, but it requires some experience, a heavier feeder, and a significantly stickier mix.
- On a very muddy bottom – A flat feeder easily sinks into deep, soft mud, and the bait inside will be lost forever. In such cases, you must use the lightest possible weight and a floating or balanced bait to prevent it from sinking.
- In dense aquatic vegetation – If you cast the feeder directly into dense vegetation, the fish won’t find your bait, and you also risk losing your catch after a strike. It’s always better to look for clear gaps between the plants or fish right at the edge of the vegetation.
What Gear Do You Need for a Method Feeder
The magic of the method feeder lies in its cleverly designed minimalism. A successful setup is, at its core, very simple; the only thing that matters is that all its parts—from the rod to the leader—work together as a single, perfectly coordinated unit.
Feeder Rod
You need a rod that can cast a loaded feeder with precision while also having enough backbone to land a carp. For smaller ponds and shorter distances, use a lighter rod; for long casts or fishing near snags, opt for a sturdier model.
Reel and Line
A reliable and smooth drag is essential, as you’ll often be dealing with larger and stronger fish. To start with, classic monofilament line is much more practical than braided line. Its stretch better absorbs the fish’s runs and forgives mistakes during the fight. Always adjust the line diameter to the target fish and the number of obstacles in the water.
Method Feeder
The basic setup is a flat inline feeder. It’s worth having several sizes and weights on hand. Use smaller models in cold water or for cautious fish; larger ones are best for periods of high activity. The weight must correspond to the distance and depth so that the feeder flies accurately and rests stably on the bottom.
Feeder Mould
Although not strictly necessary, it makes the job incredibly easier. Using it ensures you compress the feed exactly the same way every time, giving the rig a great aerodynamic shape for casting, and it will break apart in the water exactly as it should.
Short Leader
The key to this technique is the minimal distance between the feeder and the bait—it’s precisely this that allows the fish to take the hook so quickly. The leader must be strong but inconspicuous. To start with, it’s worth using pre-tied rigs with a bait needle, hair rig, or bait band, which come in the ideal length right out of the box.
Method Feeder Rig: Step-by-Step Guide
With this technique, simplicity is key. The fewer components you use, the lower the risk of tangling, and the more naturally the entire rig behaves both in flight and after hitting the bottom.
1. Thread the method feeder
The most common setup is the inline style, where the main line runs freely through the feeder. The feeder should slide smoothly and securely along the line. It must not prevent the fish from easily shaking off the weight if the line breaks (which is also a strict rule in many fishing areas).
2. Attach a swivel or quick-change connector
The main line ends below the feeder with a swivel or a special quick-change connector. This keeps the entire rig organized and makes it as quick as possible to change the leader if the hook is damaged or when trying a different lure.
3. Attach a short leader
Above all, the leader must be short and sufficiently strong. You then choose its end fitting based directly on the bait. A skewer is ideal for mini boilies and wafters, while a silicone band works great for securing hard pellets. If you’re using worms or corn, use a classic hook or a finer hair rig.
4. Prepare the groundbait or pellets
The mixture must withstand the cast and the impact with the water’s surface, but it must begin to dissolve immediately upon hitting the bottom. The right consistency is absolutely crucial. Bait that falls out of the feeder while still in the air is useless. Likewise, an over-soaked mixture that sticks together like concrete won’t work, as it delays a potential bite.
5. Fill the mold and hide the bait
Pour a little bait into the bottom of the mold, place the lure on top, and fill it with the rest of the mixture. Then press the feeder firmly into the mixture and turn out the prepared bait ball. The goal is for the bait to remain completely hidden or lie right next to the feed, not to dangle loosely nearby.
6. Cast precisely to a single spot
The effectiveness of the method feeder stands or falls on accuracy. Pick a fixed landmark on the opposite bank and mark the distance using a clip on your reel spool. If you start casting a few meters off target every time, you’ll unnecessarily disturb the feeding spot and lose the biggest advantage of this technique.
How to Prepare Bait for a Method Feeder
The right consistency of the feed is absolutely crucial for the method feeder. You can choose the best spot and have top-notch bait, but if the feed in the feeder fails, you won’t get results.
Finding the ideal consistency
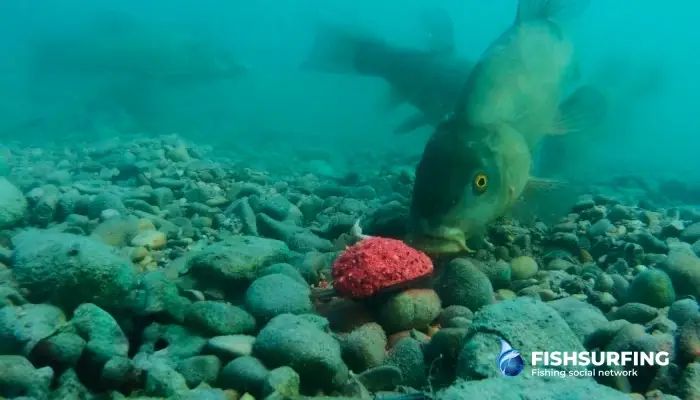
The groundbait must not be too dry, otherwise it will fall out of the feeder during the cast or upon hitting the water’s surface, and the bait will land on the bottom empty. But it mustn’t be too wet either—such a mixture will turn into a hard clump that doesn’t break apart and only delays the bite.
A properly moistened method mix holds together firmly in flight, but as soon as it hits the bottom, it immediately begins to break apart and form an attractive mat around the bait.
Preparing micro-pellets requires precision
While dry pellets won’t hold together in the mold at all, those that are over-soaked easily turn into an unappealing mush. In practice, therefore, a simple rule works great: pour water over the pellets so they’re completely submerged, and let them soak for as many minutes as their diameter is in millimeters (so 2 minutes for standard 2mm pellets). Then carefully drain off all the water and let the pellets sit for about 15 minutes. The moisture will spread evenly throughout them, and they’ll stick together exactly as you need them to.
Method Mix, micro-pellets, or both?
- Method mix is very practical and great even for beginners. It’s easy to moisten and immediately creates an enticing cloud of tiny particles in the water. It’s ideal for colder water and cautious fish.
- Micropellets excel when you want to keep the feeding spot more compact and are targeting larger catches. They keep carp and larger bream in place significantly longer than a fine, loose mix.
- The combination of groundbait and pellets is a versatile and extremely popular choice. The groundbait binds the feeder together perfectly and releases a rapid scent trail into the surrounding area, while the pellets deliver larger bites to the bottom.
What baits work with a method feeder
With the method feeder, smaller baits that are visually and olfactorily distinctive take center stage. The goal isn’t to serve the fish a huge bite, but to offer it an enticing bite-sized treat that it will suck in completely unsuspectingly while gathering food.
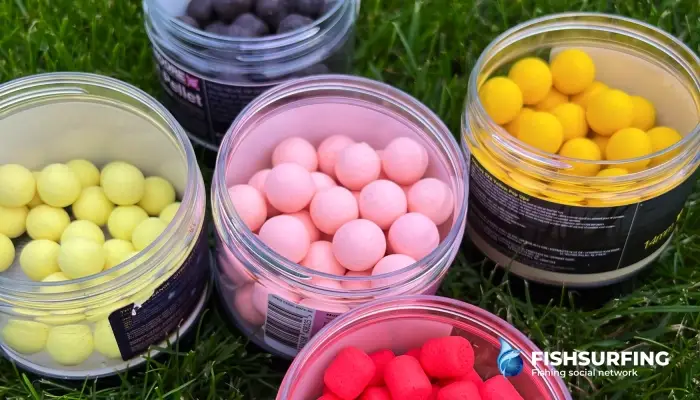
Wafters
Neutrally balanced baits that behave more naturally on the bottom than heavy sinking pellets. Fish take them with minimal effort, making them an absolute hit, especially for carp and crucian carp.
Mini boilies
The ideal choice when you need to filter out small fish and are targeting larger specimens. Smaller diameters are more versatile and result in faster bites, while larger boilies provide better selectivity.
Catch pellets
They pair perfectly with micro-pellets in a feeder. The fish trustingly gather food from the feeding spot and automatically take in a similar, slightly more prominent bait rigged on a hook or rubber band.
Corn
An inexpensive and timeless classic. One or two kernels work reliably for carp, crucian carp, and large bream, and they’re also better at withstanding attacks from small fish than live bait.
Worms
They’re extremely effective, especially in the spring and in cooler water. However, they’re not selective at all. They attract attention instantly, which is great for livening up the fishing, but undesirable if you’re waiting for a bigger fish.
Common Mistakes When Fishing with a Method Feeder
At its core, method feeder fishing is a relatively simple technique, but it ruthlessly punishes any lack of consistency. Most failures and empty casts stem from underestimating seemingly minor details.
- Incorrect bait consistency – A classic mistake. An over-dried mixture falls out of the feeder mid-flight, while an over-moistened one sinks to the bottom and doesn’t release.
- A leader that’s too long – The essence of the method feeder is having the bait in close proximity to the feeder. With a long leader, you’re depriving yourself of the greatest advantage of the entire technique.
- Loose bait placement – The bait must not dangle far from the feeder or get tangled during the cast. It must be precisely concealed directly inside the feeder cup or lie right next to the groundbait.
- Inaccurate casting – Scattering feed over a large area doesn’t work. Success depends on clipping the line and creating a single small but highly concentrated feeding spot.
- An unnecessarily large feeder in cold water – While it keeps the school in place in the summer, a large portion of bait will reliably overstimulate the fish during the colder months. In cold water, go for minimalism.
- Dull hook – With a method feeder, the fish takes the bait quickly and often hooks itself due to the weight of the feeder. A sharp hook is essential, so check it after every snag or fight.
- Fishing in deep mud and weeds – If the feeder sinks into soft mud or gets caught in dense vegetation, the fish simply won’t find the bait. Always look for a harder bottom or clear spots.
The method feeder is simple, but not random
The method feeder rightfully ranks among the most effective and popular fishing techniques today. But as we’ve shown, its success doesn’t lie in some magical rig, but rather in solid fishing skills and attention to detail. If you don’t underestimate the importance of bait consistency, stick to the rule of a short leader, and focus on absolute accuracy when casting, the method feeder will fully demonstrate its tremendous power. Whether you’re heading to the water for a quick two-hour session after work or have a weekend of fishing ahead of you, with a carefully tuned setup, you usually won’t go long without a catch.